For a while I’ve wanted to do a private cake decorating class to learn new techniques, discover new tools I need to add to my wishlist, and get general advice from a professional to build my baking knowledge.
With that, for my birthday last month, my husband booked me a 1:1 cake decorating class with the lovely Nichola at Class In Cakes, Stoke-on-Trent. I spent the day (6.5 hours to be specific) at her in-home cake studio where she taught me every step of layering, crumb-coating and decorating a cake.
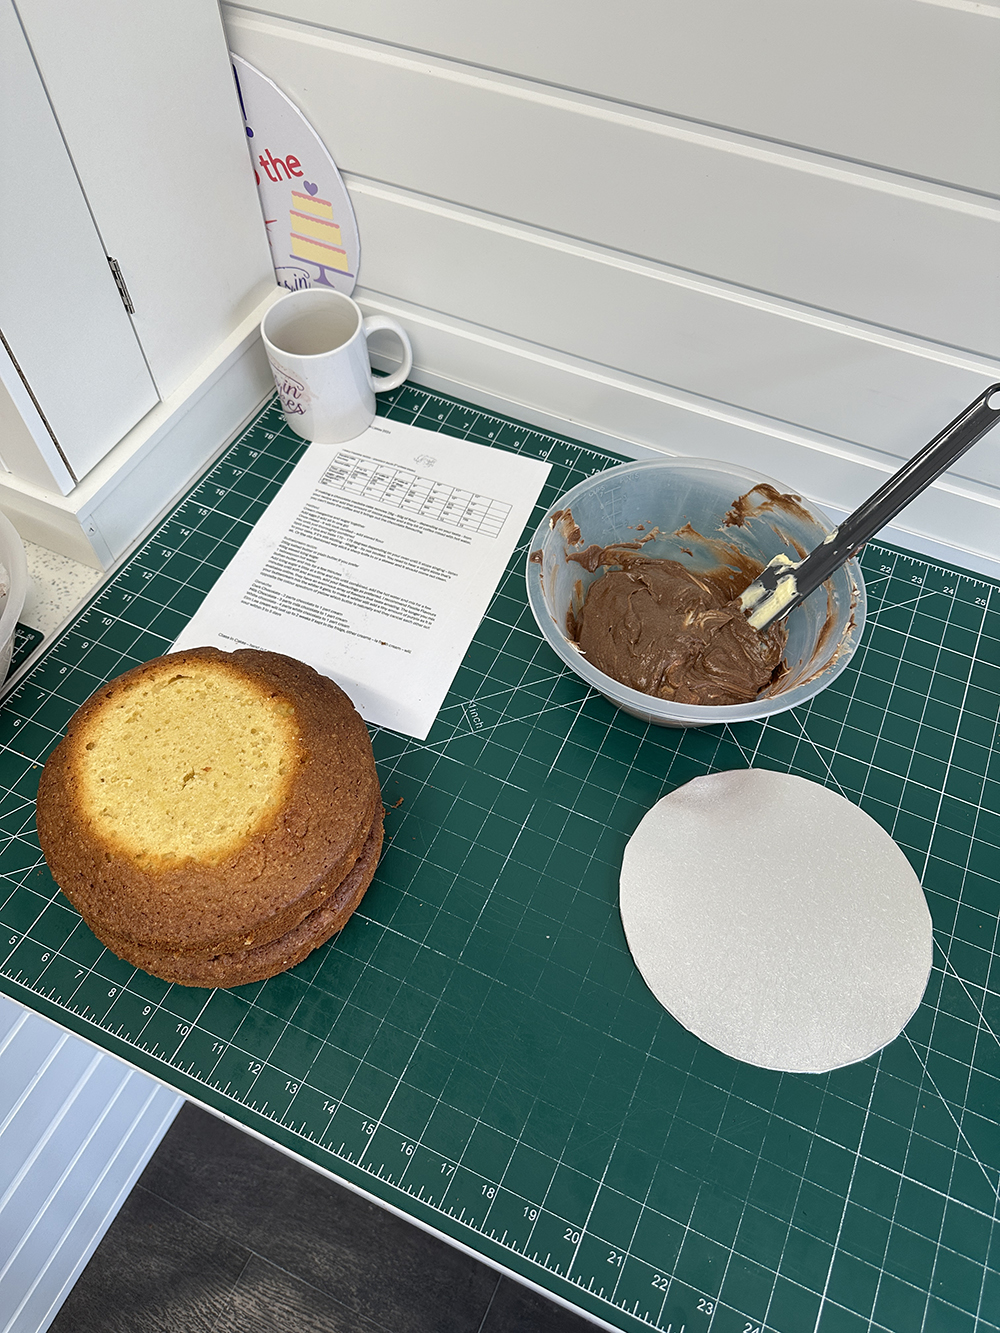
Step 1: The class started off with pre-baked sponges ready to slice. Nichola introduced me to various ways you could get even cake layers, including letting me try out the very expensive Agbay Advanced Cake Leveller – the cheapest one of these will set you back by around £250. As a hobby baker, I’m not at the point where I can justify that kind of money, but I do agree that it’s a game-changer!
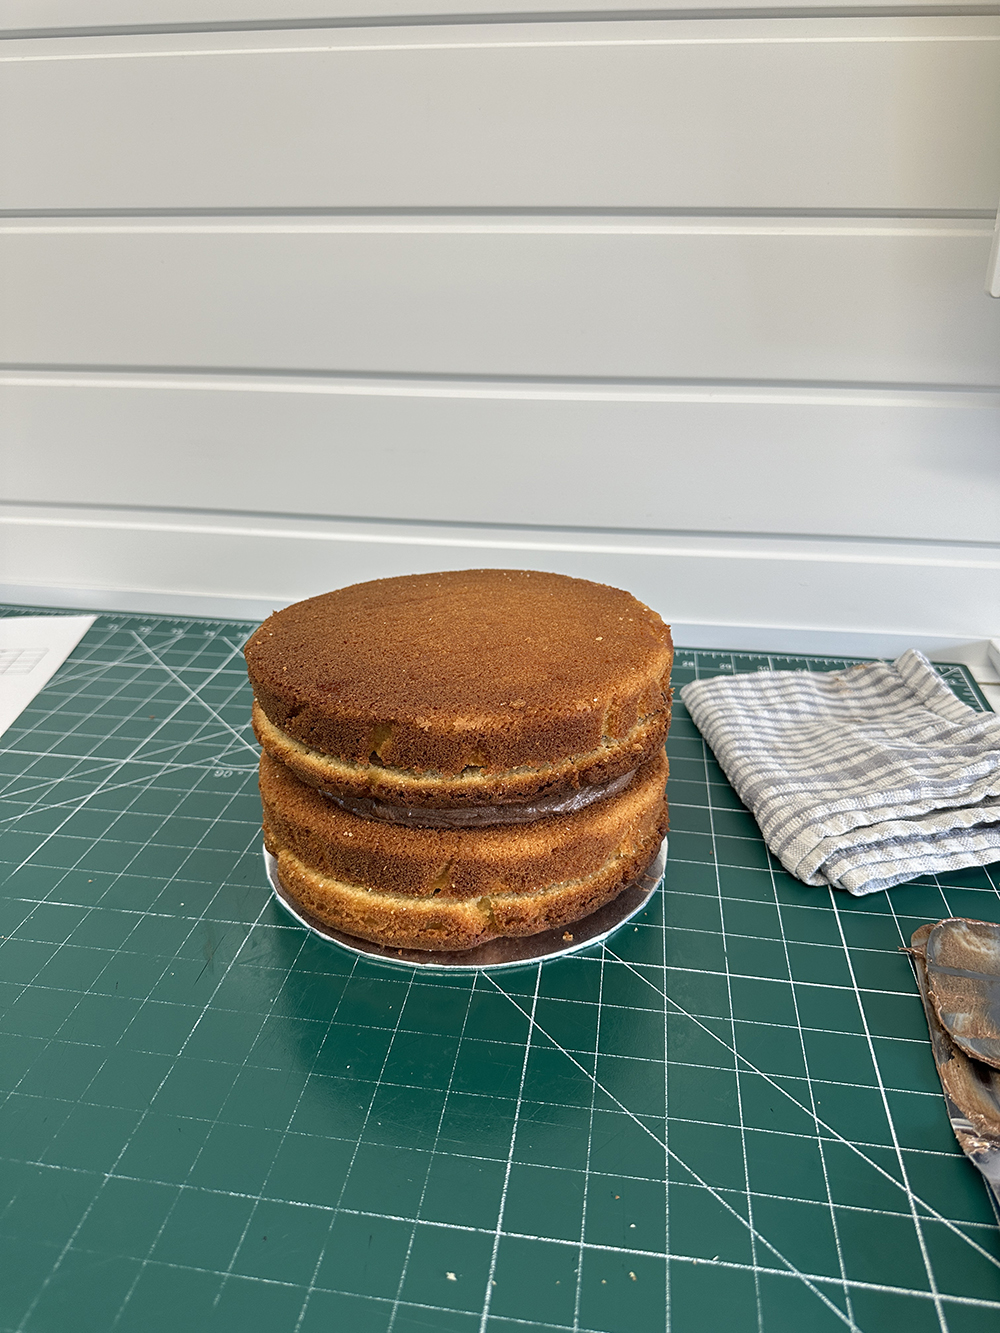
Step 2: We made the buttercream filling ready to stack the layers. I opted for a chocolate buttercream because it’s just one of the best, and Nichola taught me how to elevate the flavour even more; mix the cocoa powder with warm water then pour into your buttercream. This is instead of sifting dry cocoa powder directly into the whipped buttercream. The colour was darker and the flavour was enhanced.
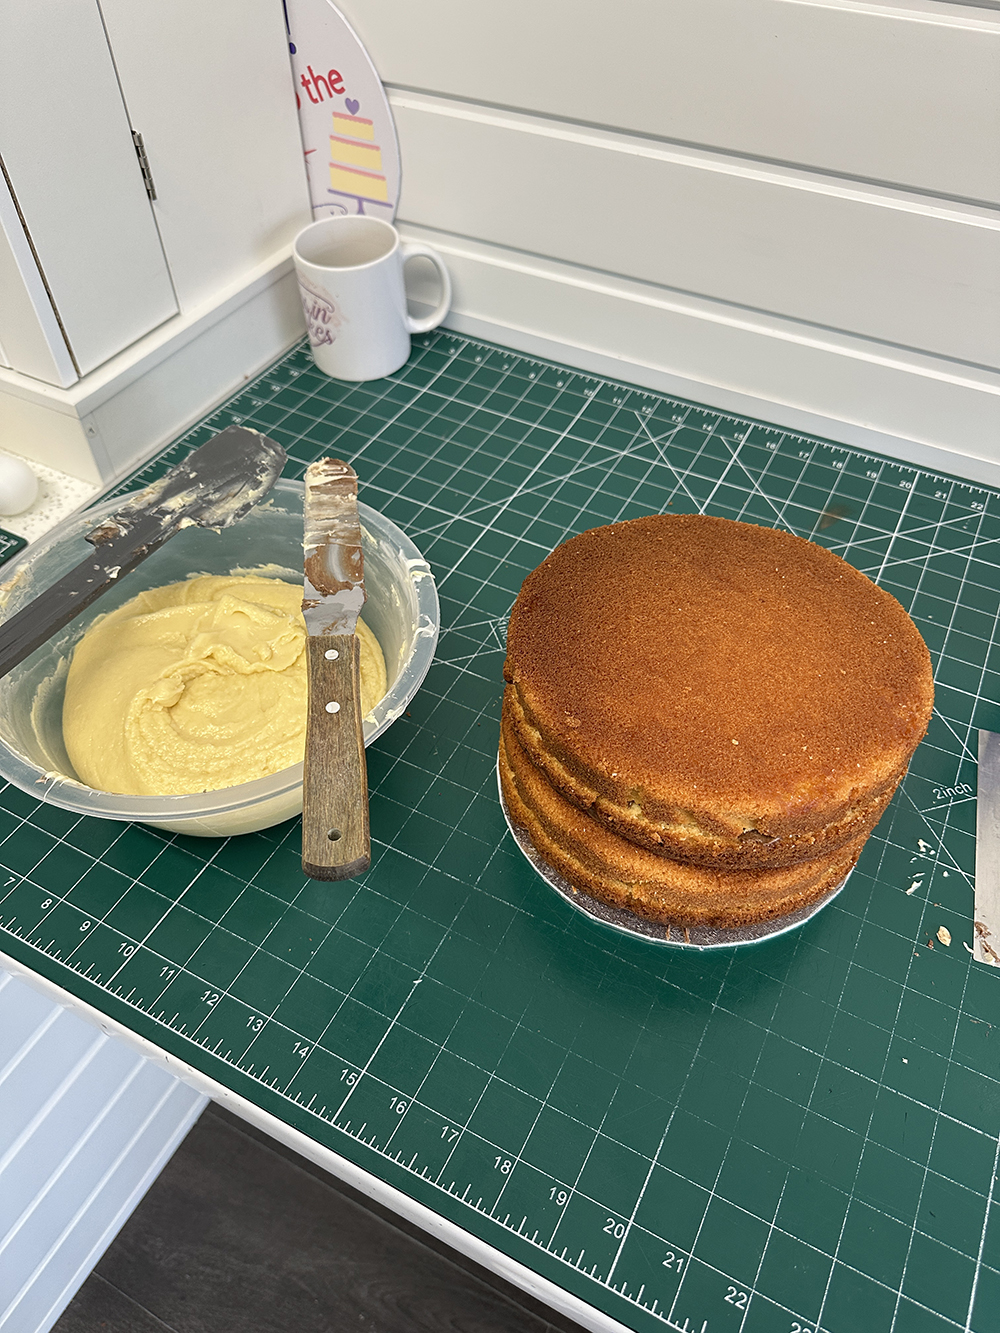
Step 3: Whilst the stacked cake set in the fridge, we got to making our white chocolate ganache. This was the biggest learning I took away from the class. I hadn’t used ganache until this point, nor made any, as the thought of working with chocolate scares me. BUT, Nichola’s tips and demonstration showed it’s actually a lot simpler than I imagined and is so much easier to work with than buttercream when it comes to crumb-coating.
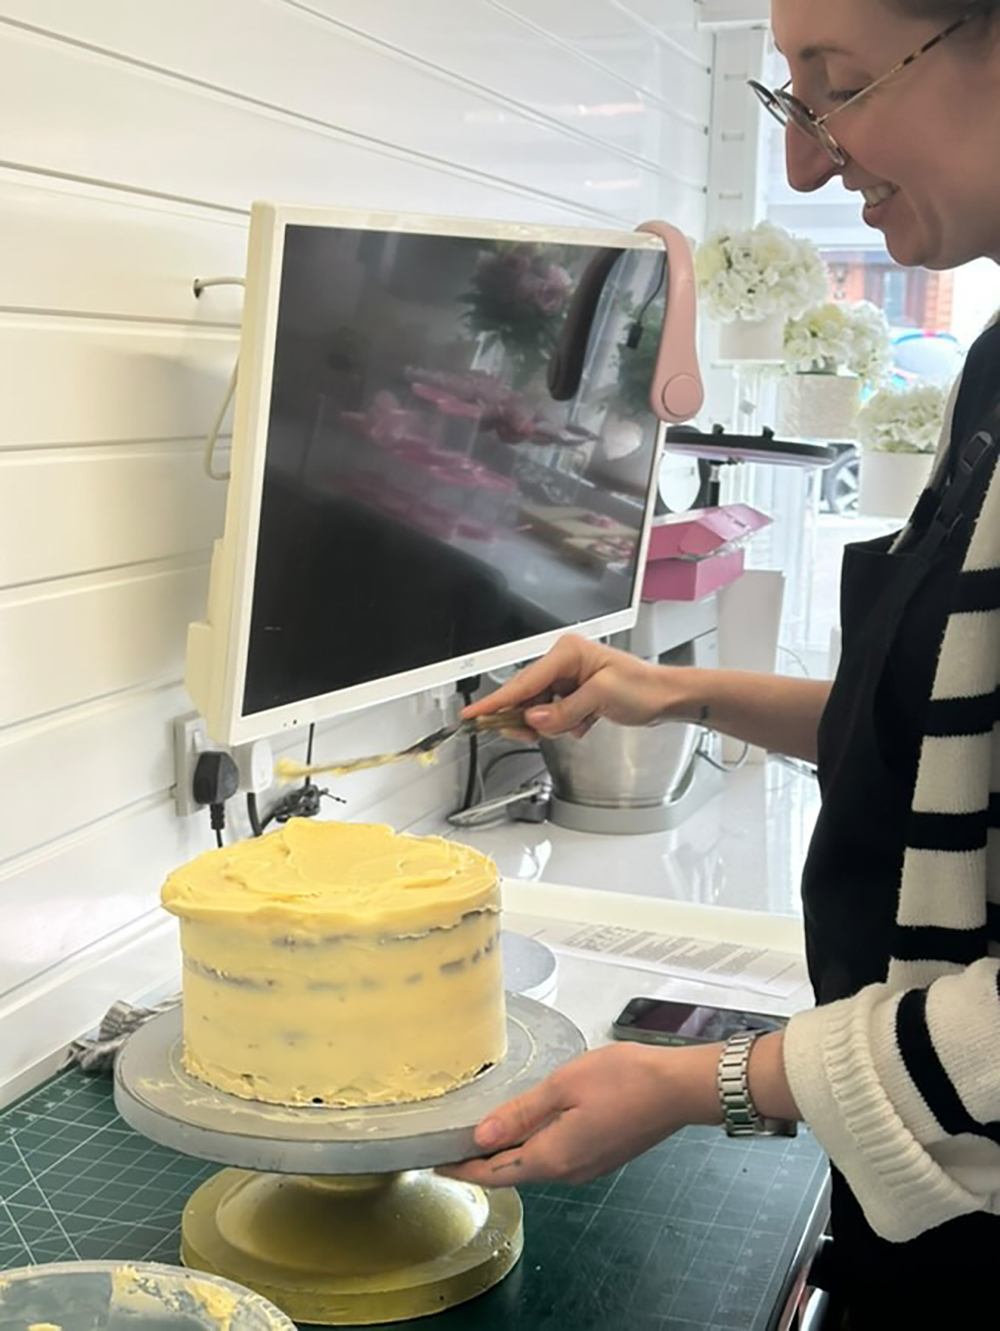
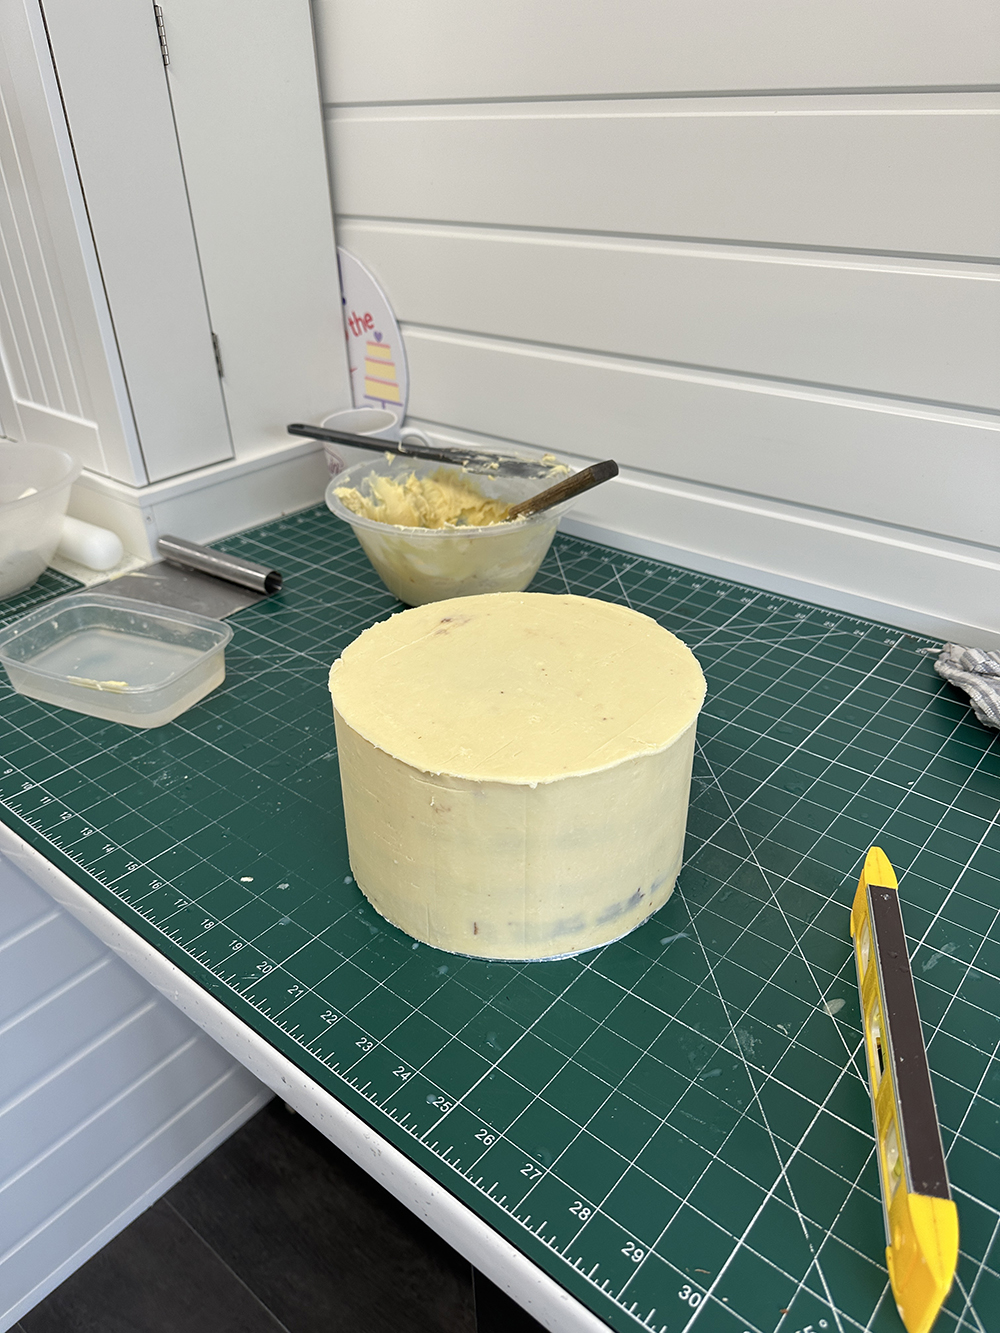
Step 4: Once the ganache was ready, we made a start on the first crumb-coat. Nichola taught me all about hand placement; continuously scraping my tools to ensure no hard clumps of ganache affect the smoothness of the crumb-coat, and using a metal scraper with boiling water to give the smoothest finish.
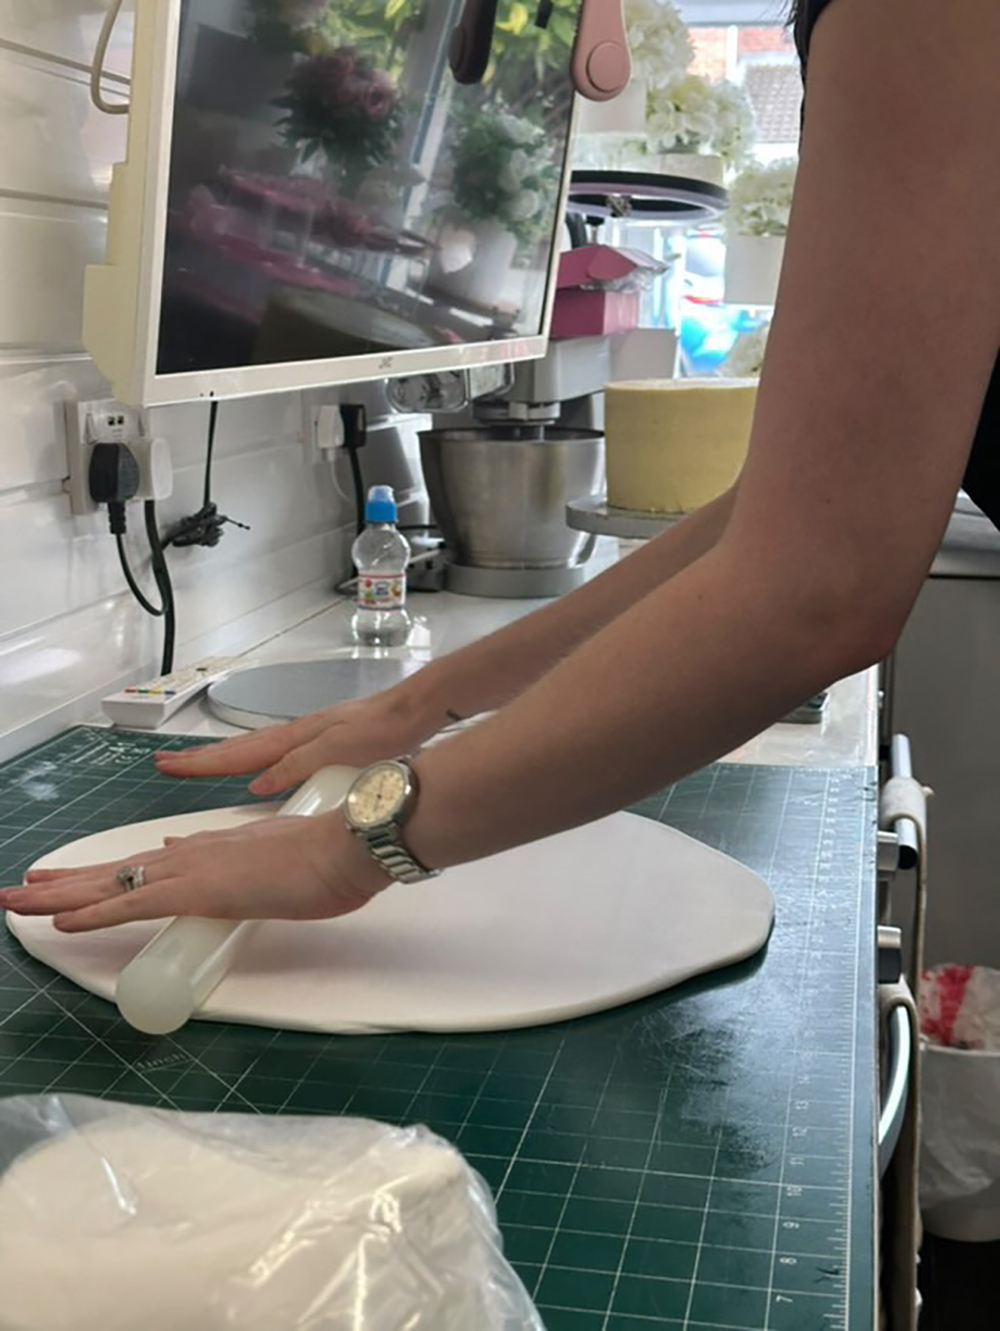
Step 5: Whilst the cake sat in the fridge again, we got to work rolling out the sugar paste/fondant; I’ve always called it fondant and didn’t realise that’s the American way and sugar paste is the British way…but I still call it fondant even after this news! Kneading and rolling out this stuff was exhausting and left my hands bruised. I’m used to working with very cheap fondant because, well, I do this for a hobby and not a profession, so I can’t justify spending lots on premium supplies.
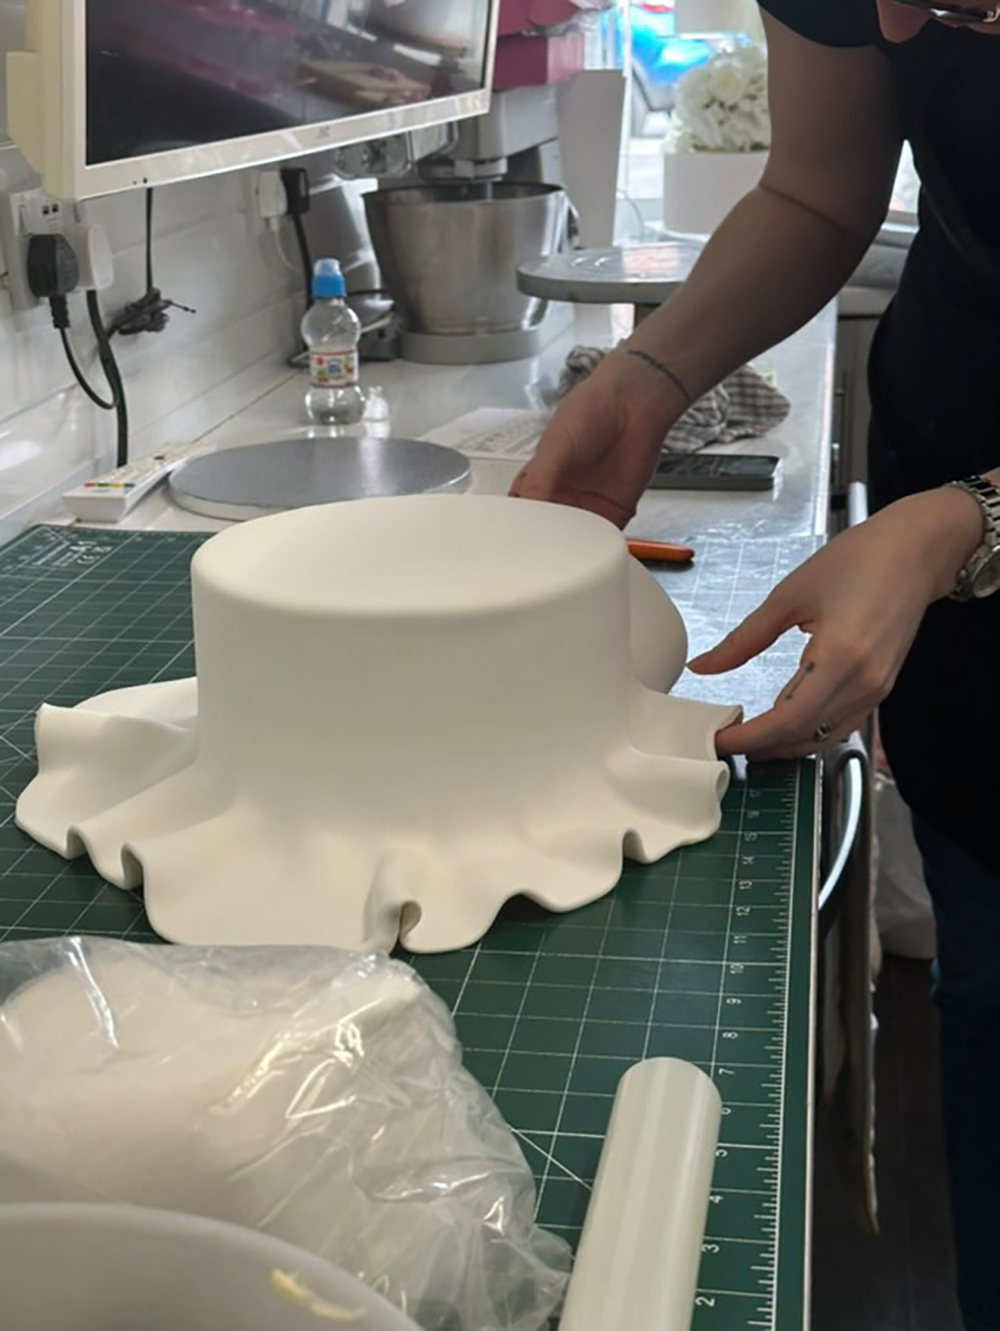
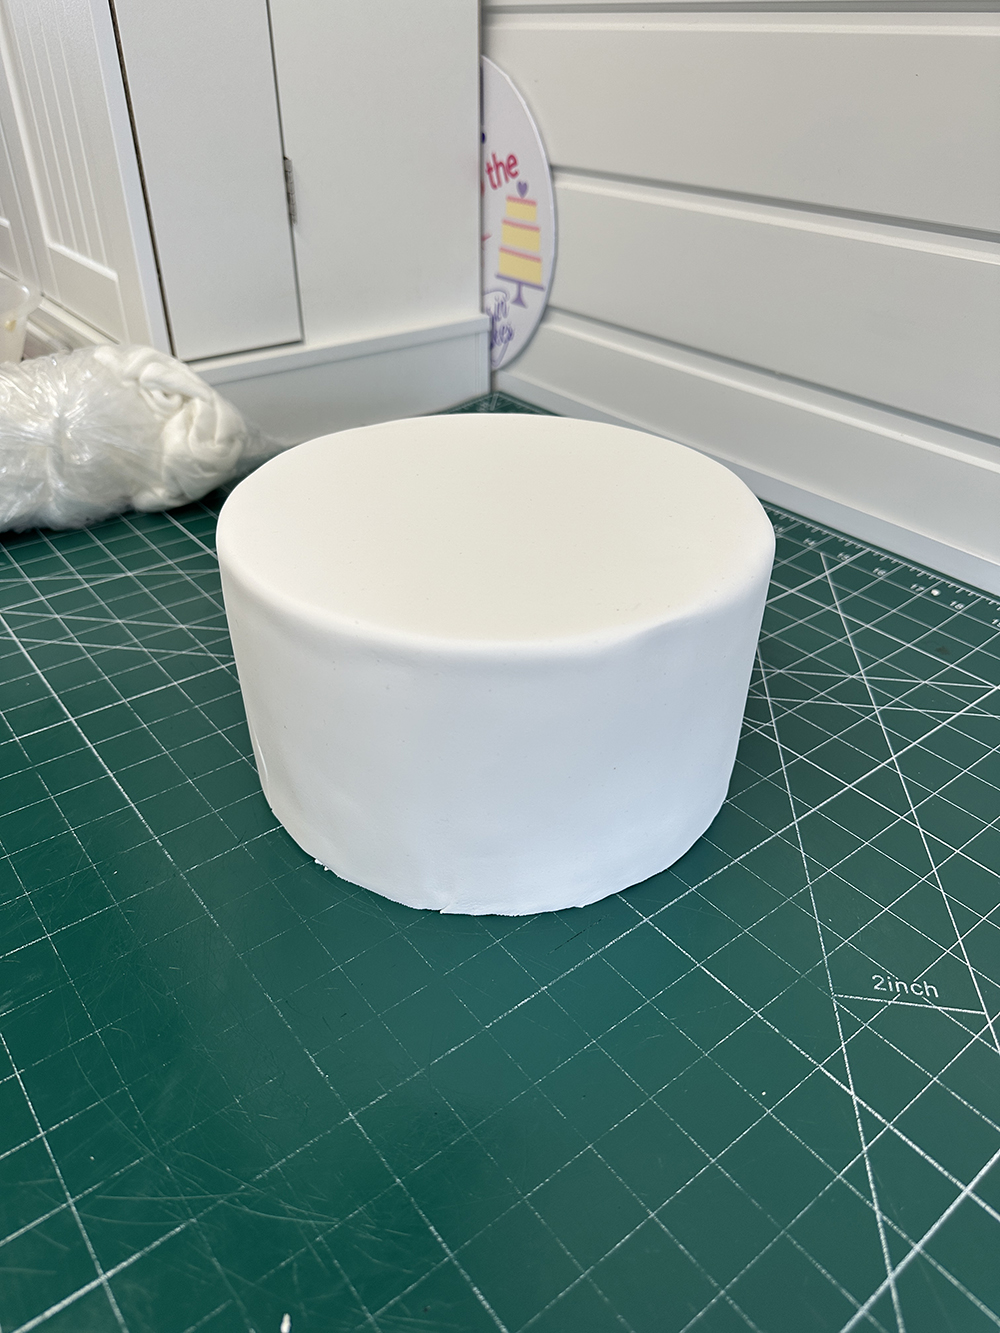
Step 6: Once the fondant was rolled out, I spritz the cake with water to help the fondant stick, before laying the fondant on top. Nichola taught me the best ways to smooth it all out to ensure there were no creases or stretch marks from overworking the icing.
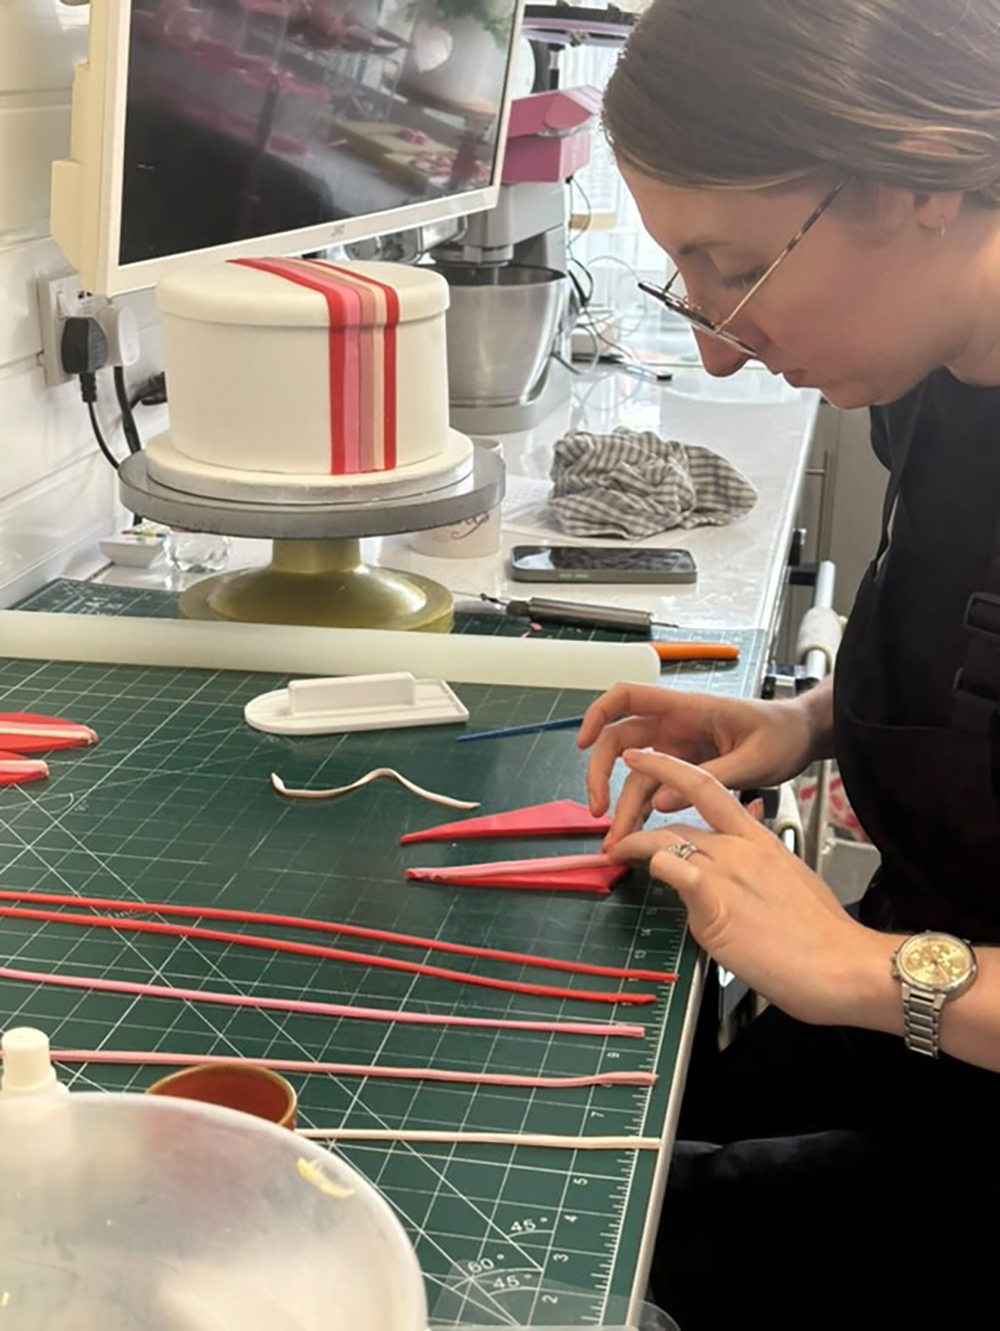
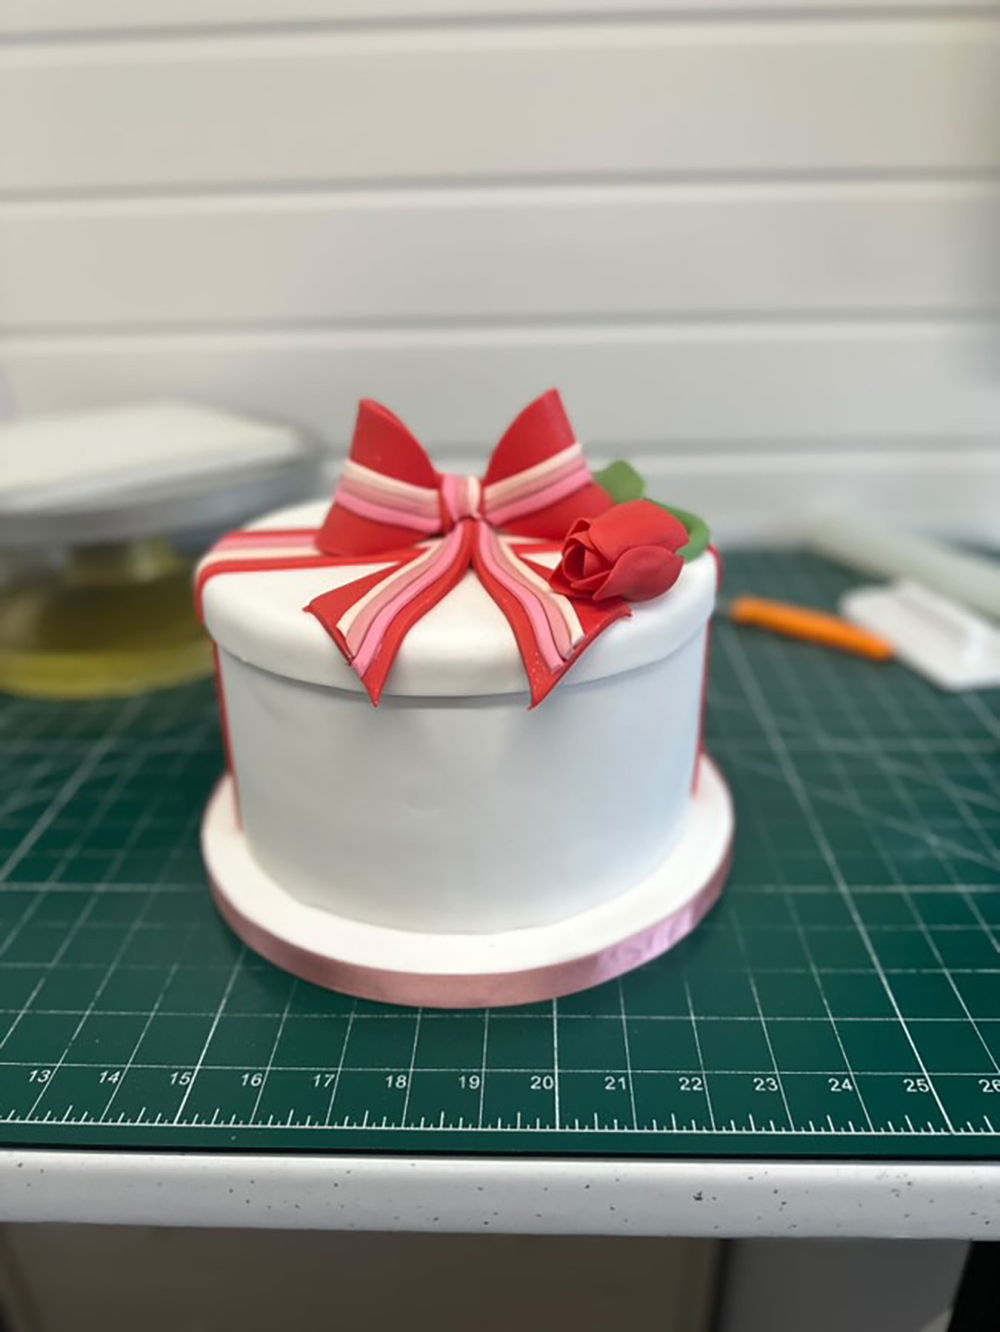
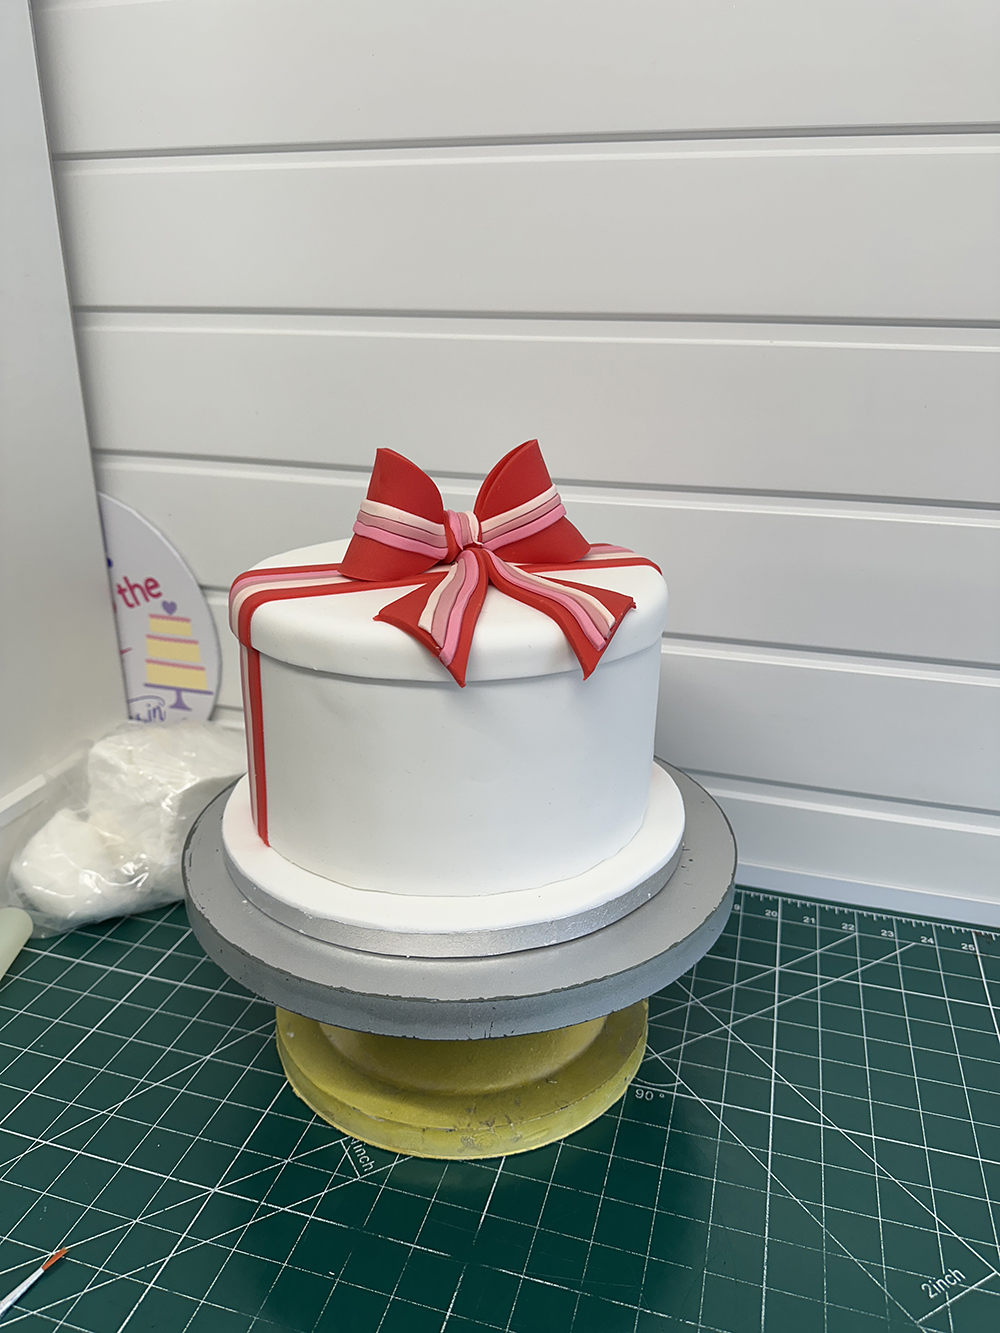
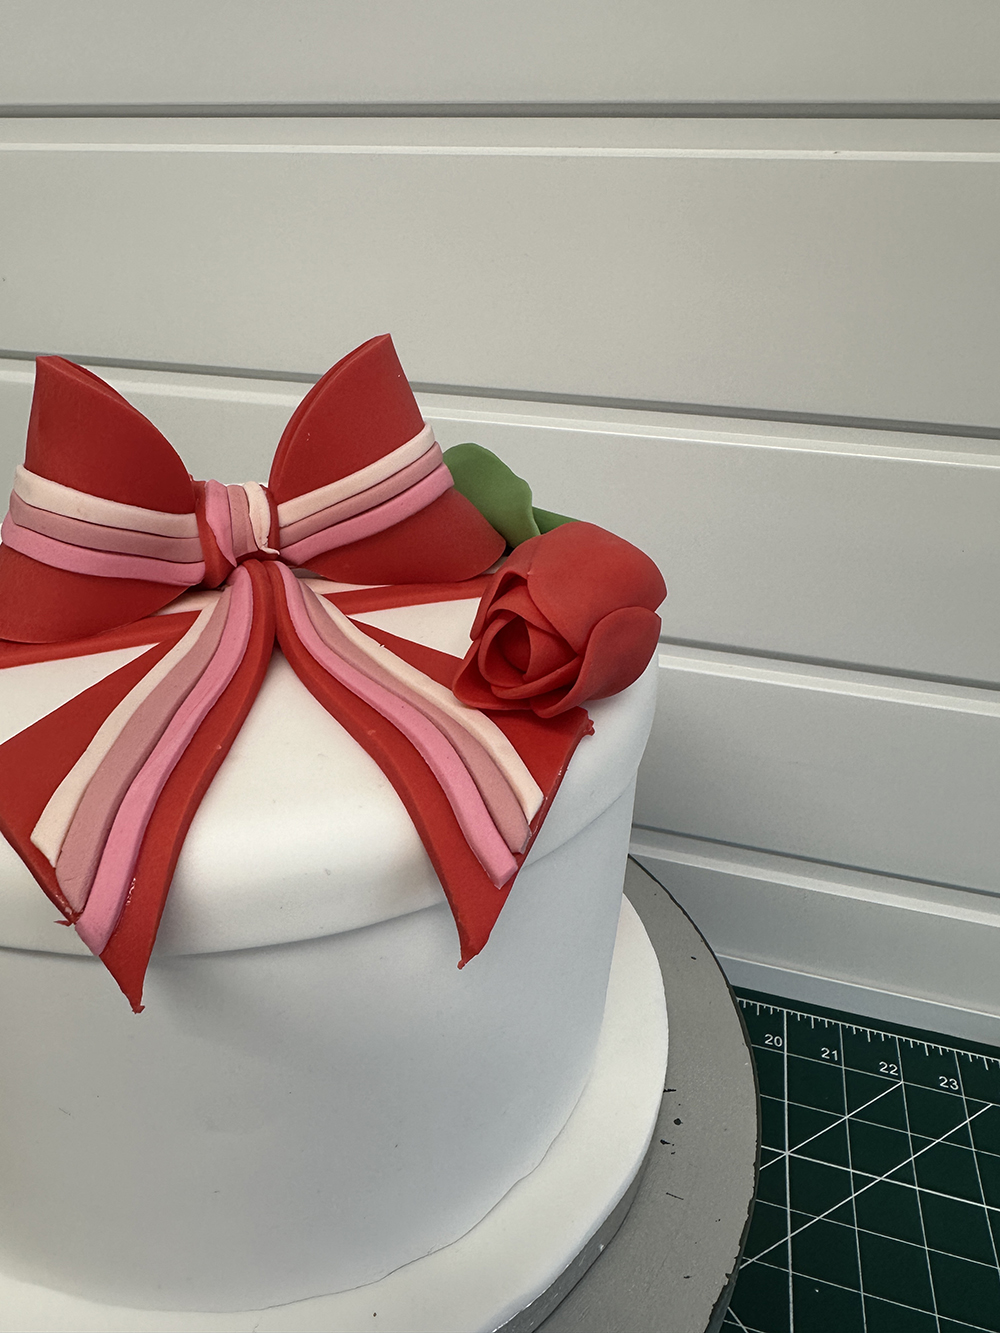
Step 7: Then we got on to the best part which is decorating. Our base was done and now we start with making the striped bow. We felt it was still missing something, so we then created a tulip too; my favourite flower.
Overall, I was so happy with the outcome. It’s a simple and classic design, but I learned so much from the day.
Would you do a private cake decorating class?
